flinkcdc同步PostgreSQL到SQLServer
1.必须用Linux系统,Windows下低版本Flink有Bug,高版本的API改动太大,资料太少难开发。
2.我是使用Docker用Centos7镜像,然后Flink版本为1.16.0。https://archive.apache.org/dist/flink/flink-1.16.1/
3.安装Java,参考https://www.saoniuhuo.com/article/detail-92.html,这个教程唯一不好的就是重启后环境变量失效。
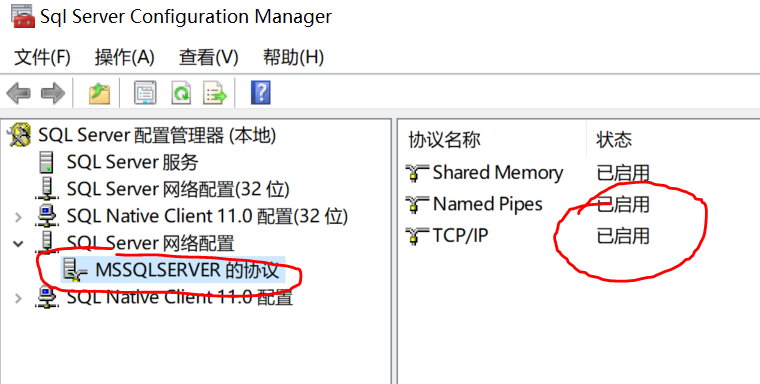
4.SQLServer开启允许远程连接,配置好记得重启电脑,重启服务不行。
5.PostgreSQL我从官网下载的最新版,也需要开启允许远程连接。
6.开启远程连接是为了让Docker容器的Centos可以访问宿主的数据库。
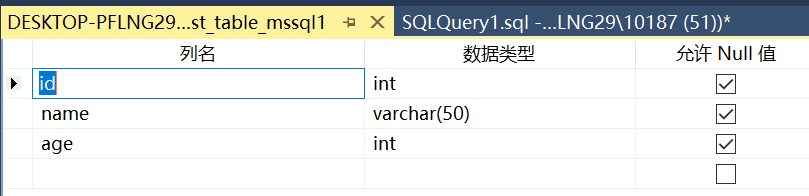
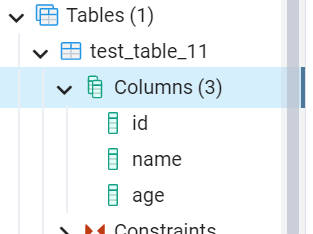
7.分别给SQLServer和PostgreSQL创建表,SQLServer的id不需要设置主键。
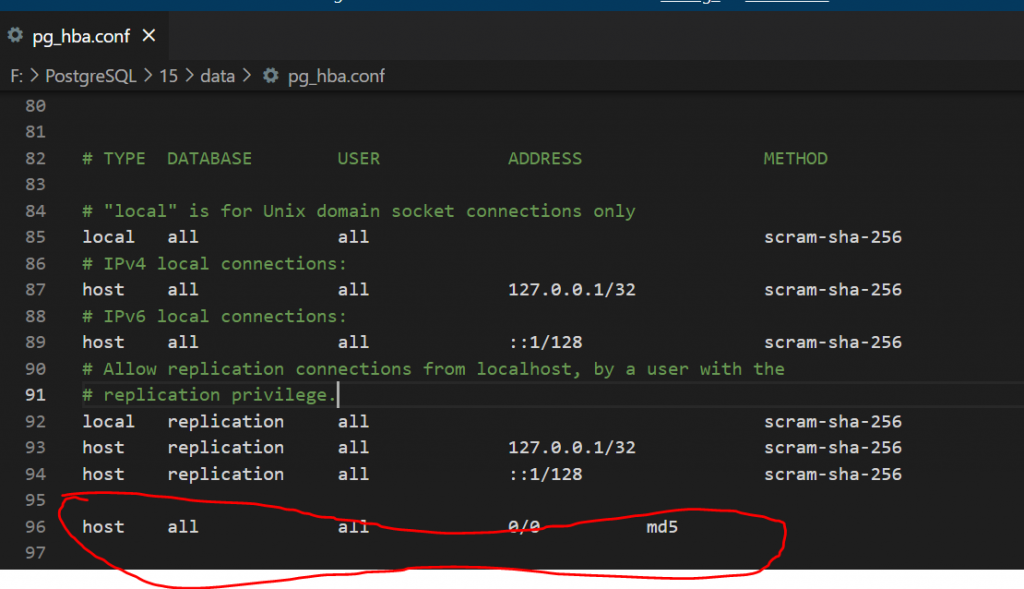
7.修改PostgreSQL的pg_hba.conf配置文件,多加一条信息设置允许远程访问
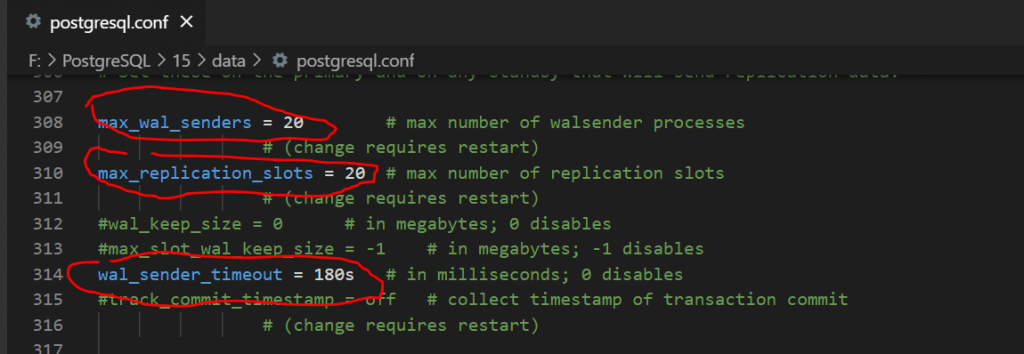
8.修改PostgreSQL的postgresql.conf配置文件,FlinkCDC才可以监听到

9.IDEA创建Maven项目
10.把用到的jar放到Flink的lib目录下,然后Java项目添加Jar的引用。
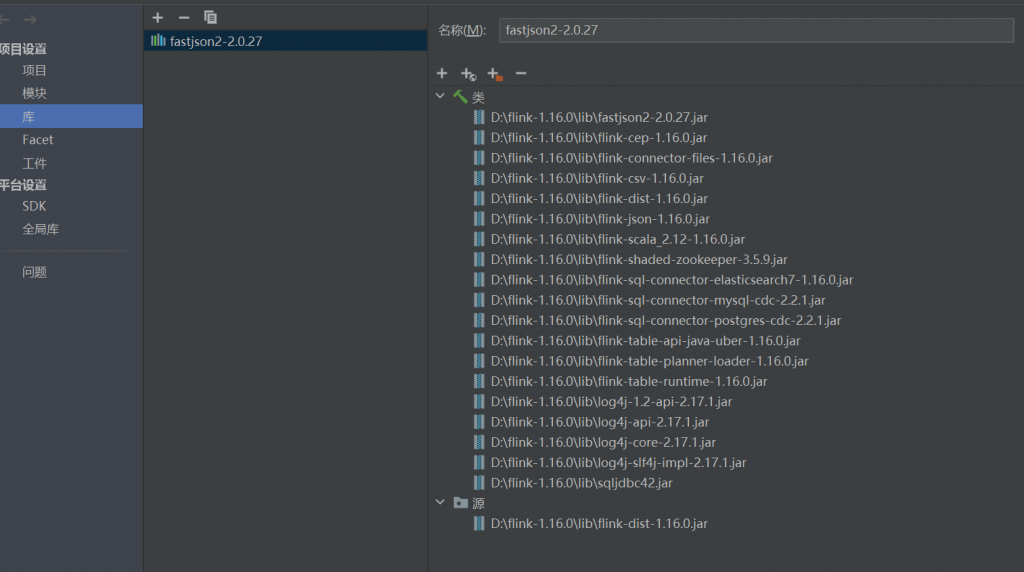
11.必须说明一点,Flink高和低版本API变化很多,建议Jar版本和Flink版本保持一致!!!
12.创建FlinkCdcDataStream.java,编写Java代码监听PostgreSQL表的变化
SourceFunction<String> sourceFunction = PostgreSQLSource.<String>builder()
                    .hostname("192.168.0.148").port(5432)
                    .database("test_db_11") // monitor postgres database
                    .schemaList("public")  // monitor inventory schema
                    .tableList("public.test_table_11") // monitor products table
                    .decodingPluginName("pgoutput")
                    .slotName("t_table_slot")
                    .username("postgres")
                    .password("123")
                    .deserializer(new JsonDebeziumDeserializationSchema()) // converts SourceRecord to JSON String
                    .build();

StreamExecutionEnvironment env = StreamExecutionEnvironment.getExecutionEnvironment();
env.enableCheckpointing(3000);

env.addSource(sourceFunction)
   .addSink(new ClickHouseSink("test_table_mssql1", "id"));

env.execute();

13.创建ClickHouseSink.java,编写监听到数据变化后同步到SQLServer,代码太多就不截图,代码放到下面吧
package org.example;

import com.alibaba.fastjson2.JSON;
import com.alibaba.fastjson2.JSONObject;
import org.apache.flink.configuration.Configuration;
import org.apache.flink.streaming.api.functions.sink.RichSinkFunction;

import java.sql.Connection;
import java.sql.DriverManager;
import java.sql.PreparedStatement;

public class ClickHouseSink extends RichSinkFunction<String> {
    private Connection connection;
    private String targetTableName;
    private String idName;

    public ClickHouseSink(String targetTableName, String idName) {
        this.targetTableName = targetTableName;
        this.idName = idName;
    }

    @Override
    public void open(Configuration parameters) throws Exception {
        super.open(parameters);

        try {
            if (this.connection == null) {
                connection = getConnection();
            }
        } catch (Exception e) {
            System.out.println(e.getMessage());
        }
    }

    @Override
    public void close() {
        try {
            //关闭连接和释放资源
            if (connection != null) {
                connection.close();
            }
        } catch (Exception e) {
            System.out.println(e.getMessage());
        }
    }

    @Override
    public void invoke(String sql, Context context) {
        JSONObject res = JSON.parseObject(sql);
        System.out.println(res);
        try {
            JSONObject after = res.getJSONObject("after");
            JSONObject before = res.getJSONObject("before");

            switch (res.getString("op")) {
                case "r":
                    System.out.println("读取数据");
                    break;
                case "d":
                    System.out.println("删除数据");
                    if (before != null) {
                        PreparedStatement ps = this.connection.prepareStatement("delete from " + targetTableName + " where " + idName + "=?");
                        ps.setInt(1, before.getInteger(idName));
                        ps.execute();
                        ps.close();
                    }
                    break;
                case "u":
                    System.out.println("更新数据");
                    PreparedStatement ps = this.connection.prepareStatement("update " + targetTableName + " set name=?, age=? where id = ?");
                    ps.setString(1, after.getString("name"));
                    ps.setInt(2, after.getInteger("age"));
                    ps.setInt(3, after.getInteger("id"));
                    ps.execute();
                    ps.close();
                    break;
            }

            if (res.getString("op").equals("c")) {
                System.out.println("插入数据");
                if (after != null) {
                    PreparedStatement ps = this.connection.prepareStatement("insert into " + targetTableName + "(id, name, age) values(?,?,?)");
                    ps.setInt(1, after.getInteger("id"));
                    ps.setString(2, after.getString("name"));
                    ps.setInt(3, after.getInteger("age"));
                    ps.execute();
                    ps.close();
                }
            }
        } catch (Exception ex) {
            System.out.println("异常" + ex.getMessage());
        }
    }

    private static Connection getConnection() {
        Connection con = null;
        try {
            Class.forName("com.microsoft.sqlserver.jdbc.SQLServerDriver").newInstance();
            con = DriverManager.getConnection("jdbc:sqlserver://192.168.0.148:1433;database=test_db_mssql;user=test;password=123;encrypt=true;trustServerCertificate=true;loginTimeout=30;");
        } catch (Exception e) {
            System.out.println("-----------sqlserver get connection has exception , msg = " + e.getMessage());
        }
        return con;
    }
}
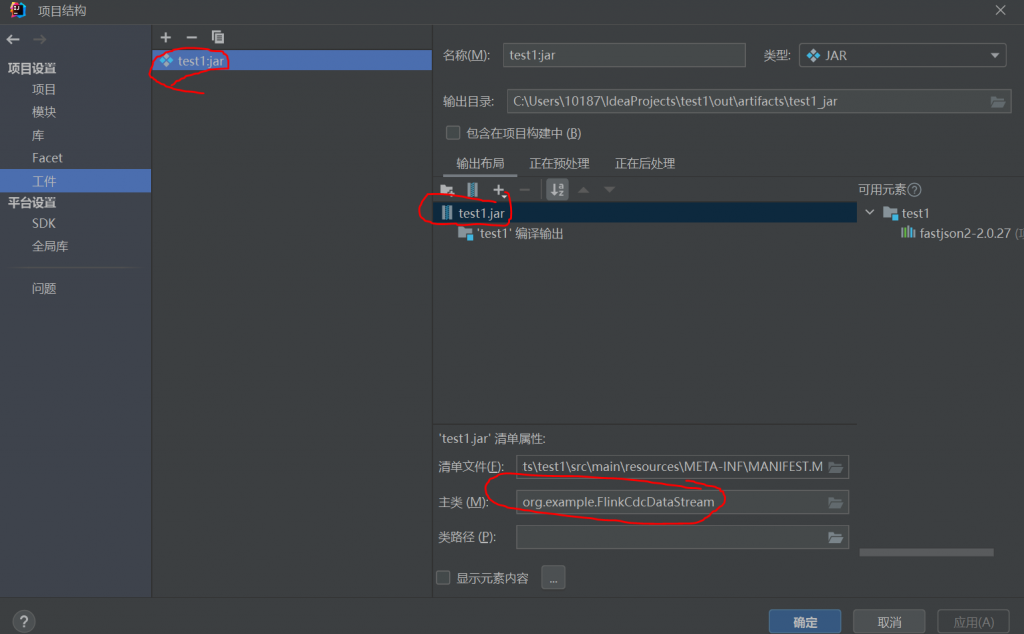
15.IDEA添加工件,并且选择入口类
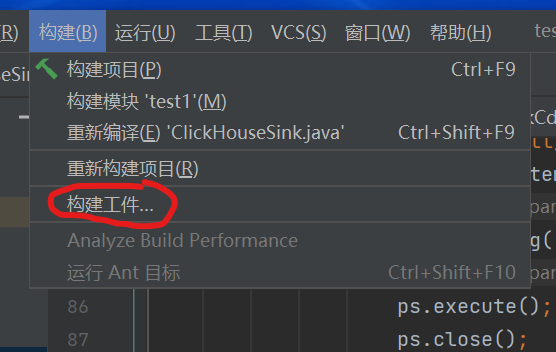
16.构建工件得到一个Jar包
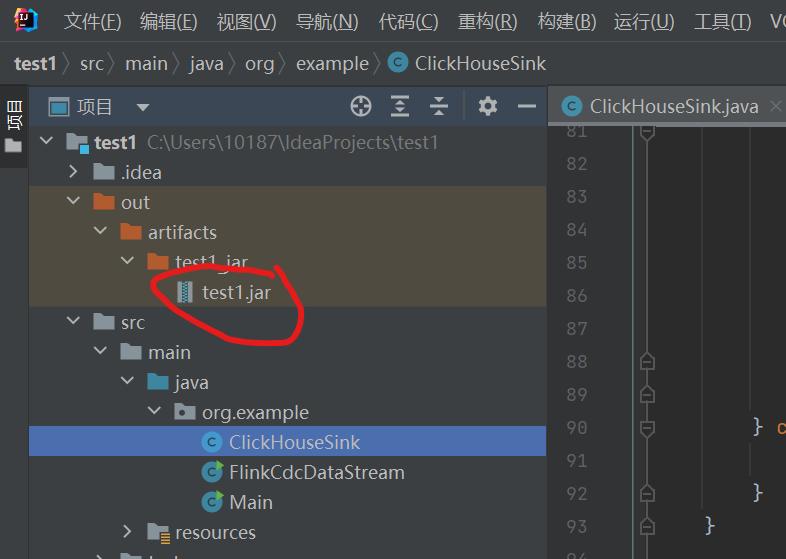
17.启动Docker端口映射8081然后启动Flink1.16.0,记得需要提前把Jar放进Flink的lib下面,否则Flink无法加载Jar会上传失败
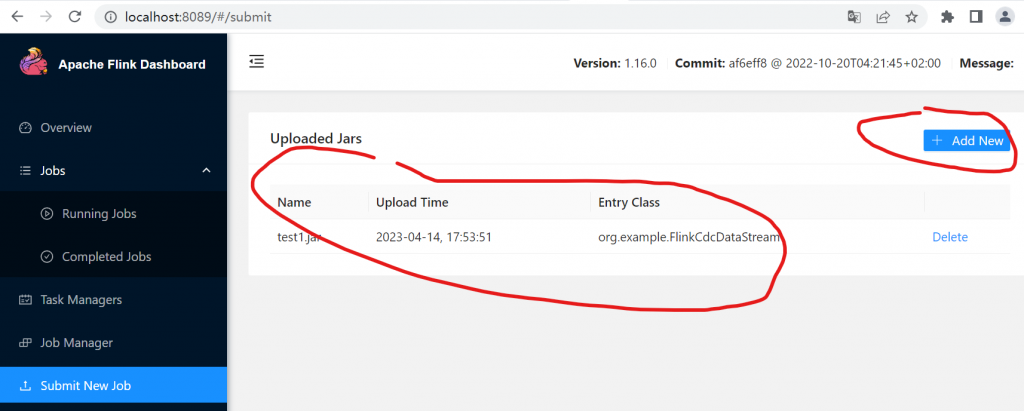
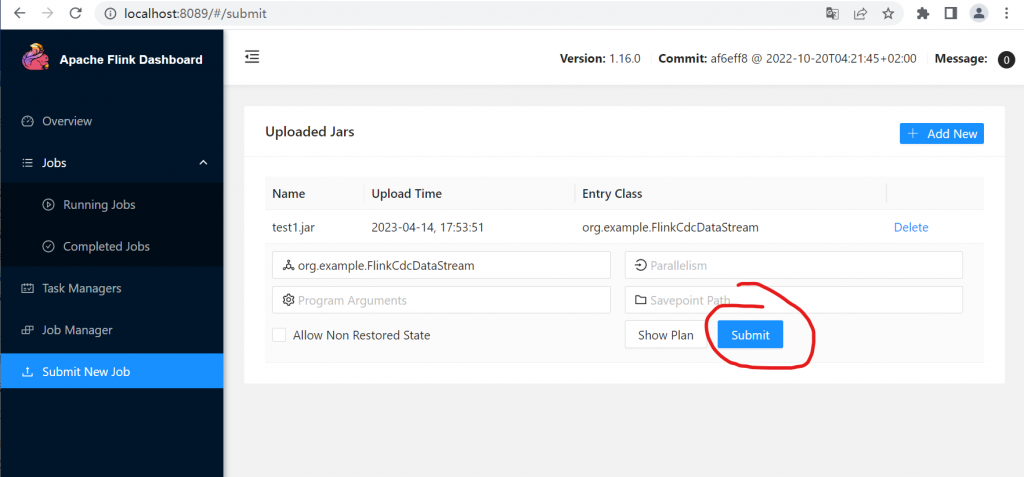
18.提交刚刚生成的Jar包,并且运行
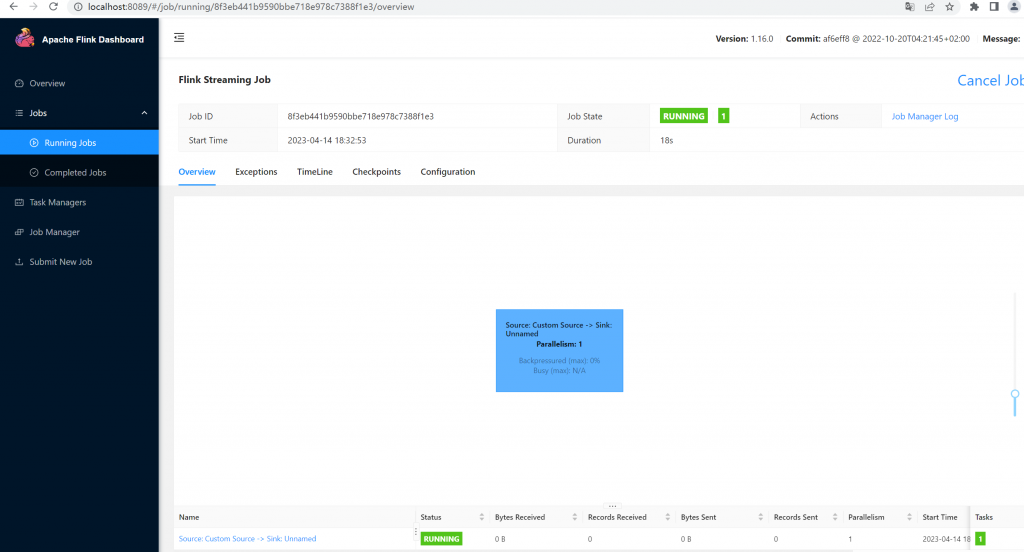
至此已经完成同步功能。
接下来看下效果:
1.PostgreSQL插入数据,SQLServer实时同步


PostgreSQL默认情况无法修改表,我就不重新建一个表了。
MySQL测试过增删改都是实时同步,代码是同一份。